
An iPad can be useful as an additional display for a compatible computer. This guide introduces several connection options. Check the current device requirements and software pricing before choosing one.

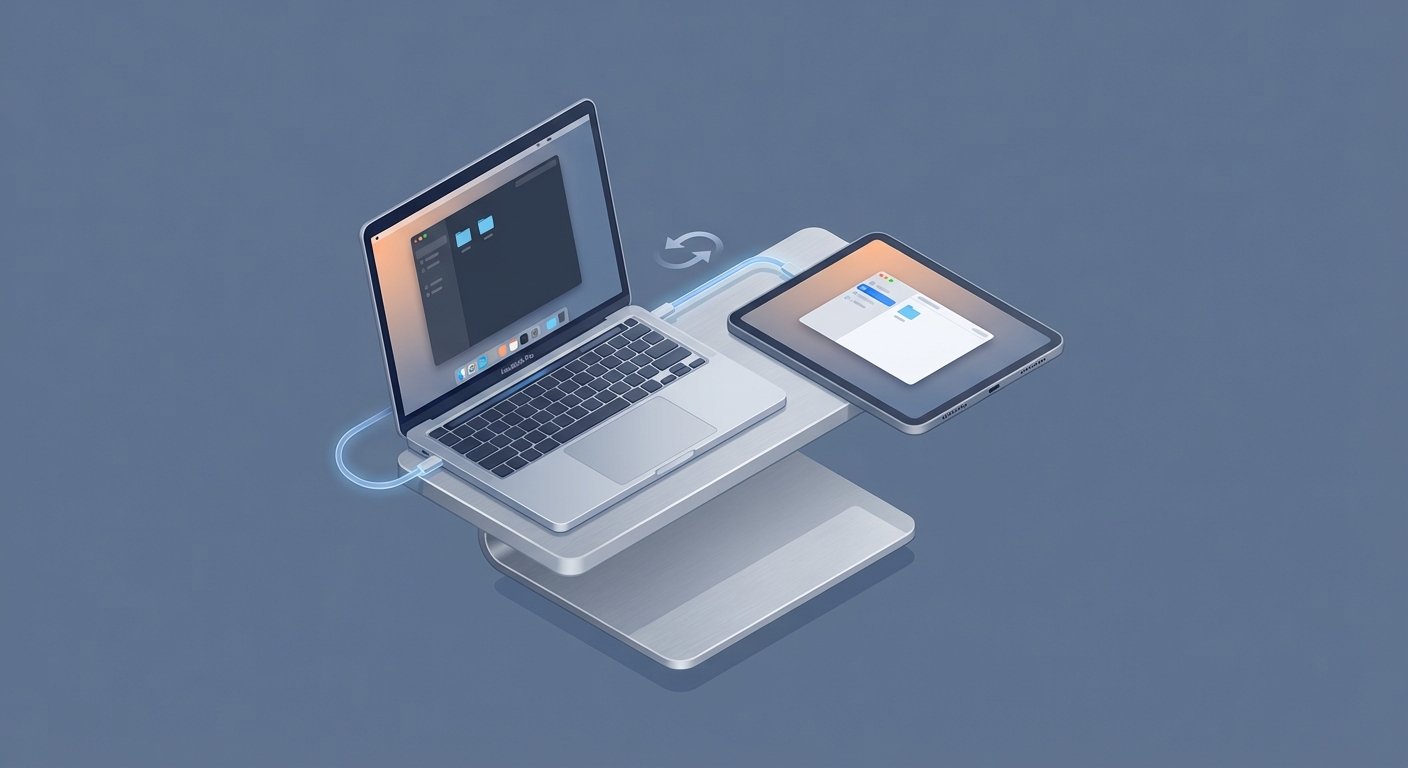
Method 1: The “Apple Ecosystem” Way (Sidecar)
If you have a Mac and an iPad, this is free. It is built-in. It works.
Apple calls it “Sidecar.”
It turns your iPad into a wireless extension of your Mac. The latency is near zero. The setup takes 10 seconds.
The Requirements
You cannot use a dinosaur machine. You need decent hardware.
- Mac: MacBook Pro (2016 or later), MacBook Air (2018 or later).
- iPad: iPad (6th gen or later), iPad mini (5th gen or later), iPad Air (3rd gen or later), or any iPad Pro.
- Software: macOS Catalina or later. iPadOS 13 or later.
Both devices must be signed into the same iCloud account. Both must have Bluetooth and Wi-Fi turned on. They don’t need to be on the same Wi-Fi network, but they need the radios on to talk to each other.
The Setup
- Unlock your Mac.
- Unlock your iPad.
- On your Mac, click the Control Center icon (the two switches in the top right menu bar).
- Click Screen Mirroring.
- Select your iPad from the list.
Boom. Your Mac screen flashes. Your iPad is now a desktop.
Configuration
By default, it might mirror your screen. You don’t want that. You want more space.
Go to System Settings > Displays.
Click “Use as Separate Display.”
Now, arrange them. If your iPad is on the left, drag the iPad icon to the left. If it’s on the right, drag it to the right. This aligns your mouse movement. If you skip this, your mouse will hit an invisible wall.
The Wired Hack
Wireless is convenient. Wired is reliable.
If you are in a coffee shop with 500 iPhones interfering with the signal, Sidecar might stutter. The fix is a USB-C cable.
Plug the iPad directly into the Mac. The Mac will trust the device. The video signal will go over the cable. It charges the iPad while you work. Zero lag. 100% reliability.
Method 2: The “Windows User” Way (Duet Display)
If you use Windows, you can’t use Sidecar. Apple doesn’t like sharing.
But ex-Apple engineers built a solution. It’s called Duet Display.
It works on everything. Windows to iPad. Mac to iPad. Even Android to iPad. It turns your tablet into a high-performance monitor.
The Cost
It used to be a one-time purchase. Now it is a subscription. Companies want recurring revenue. It is smart for them, annoying for you.
Expect to pay around $25 to $35 per year for the “Duet Air” tier, which gives you wireless capability.
Is it worth it? Calculate your hourly rate. If this saves you one hour of frustration per year, it pays for itself. It will save you much more than that.
The Setup
- Download Duet Display on your PC (Windows 10/11).
- Download the Duet app on your iPad from the App Store.
- Open the app on your PC. Create an account.
- Open the app on your iPad.
- Connect via USB cable (recommended for Windows) or ensure both are on the same Wi-Fi.
The PC detects the iPad as a generic Plug-and-Play monitor. You can drag windows onto it immediately.
Pro Tip: In the Duet PC settings, set the “Frame Rate” to 60 FPS and “Performance” to High Power. If you leave it on energy saver mode, it looks laggy. Burn the battery. Get the performance.
Method 3: The Hardware Solution (Luna Display)
Software is good. Hardware is better.
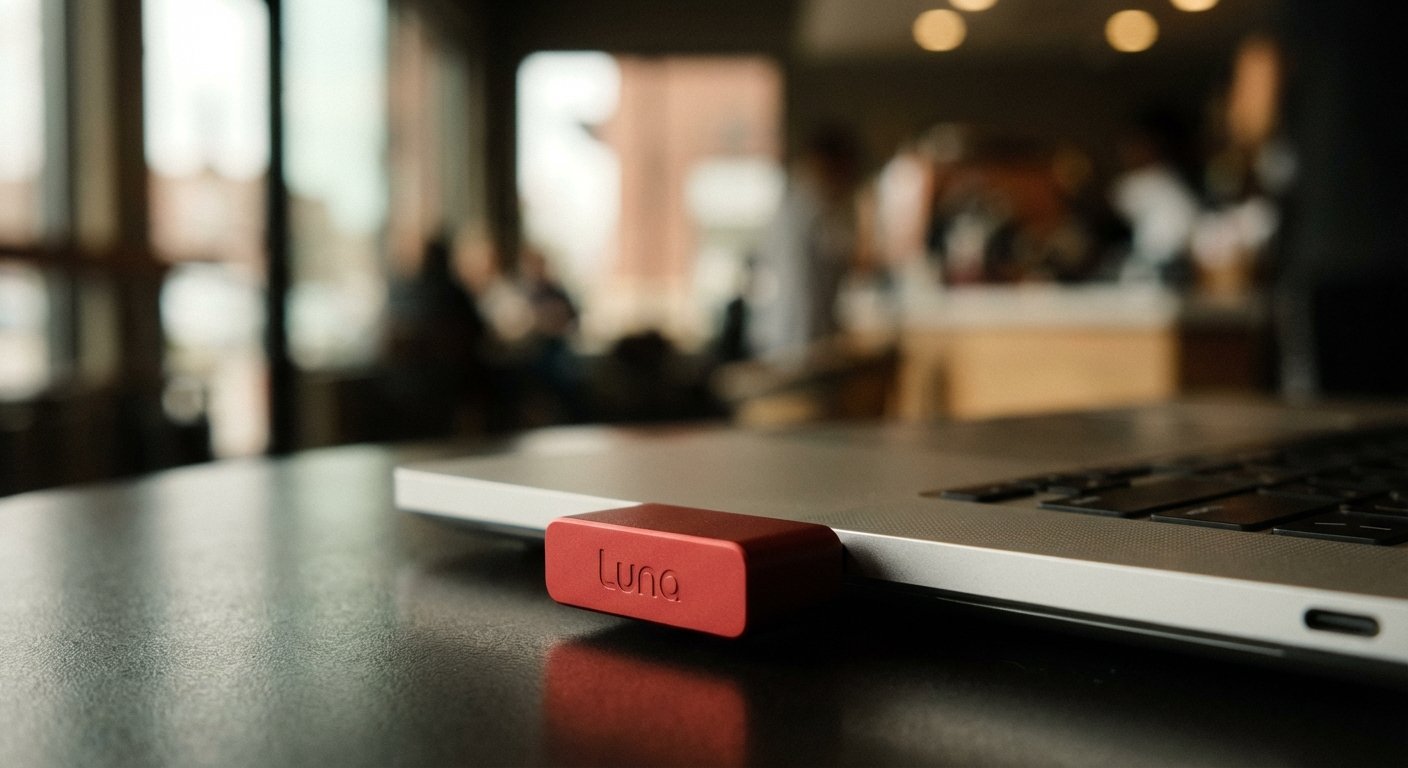
If you want the absolute best performance without cables, you buy a dongle. Specifically, the Luna Display by Astropad.
Why pay for hardware when software is free? Bandwidth.
Sidecar compresses the video feed. Duet uses your CPU to compress the screen. Luna Display uses a hardware component to trick your computer into thinking a real monitor is plugged in. It uses the GPU acceleration directly.
The result: Crystal clear text. No artifacts. It looks like a real screen.
It comes in USB-C (for Mac/PC) and HDMI (for Windows).
Price Range: $110 – $135.
The Gear: Stop Propping It Up
You have the screen working. Now you need to position it.
Do not lean your $1,000 iPad against a coffee cup. It will slide. It will break. You will look unprofessional.
You need the screen at eye level. Neck strain kills focus. If your neck hurts, you stop working. If you stop working, you stop making money.
You need a stand that elevates the iPad to the same height as your laptop screen.
Option 1: The Premium Choice
Twelve South HoverBar Duo (2nd Gen)
This is the gold standard. It has a weighted base so it doesn’t tip over. It has an articulating arm. You can position the iPad right next to your screen, portrait or landscape.
It also comes with a clamp. You can clamp it to your desk if you want a permanent setup.
Price Range: $70 – $90.
Option 2: The Magnetic Choice
CharJenPro MagFlött
If you have a newer iPad Pro or Air with magnets on the back, get this. It looks like a mini iMac stand. It snaps on magnetically. It rotates 360 degrees.
It looks clean. It impresses clients. It holds the iPad steady.
Price Range: $100 – $130.
The “Triple Monitor” Command Center
Why stop at two?
If you are a coder, a trader, or a serious writer, you can use three screens.
- Center: Your Laptop (Main work).
- Left: Portable Monitor (Research/Data).
- Right: iPad (Communication/Slack/Spotify).
You can run a USB-C portable monitor and Sidecar at the same time on most MacBooks.
This gives you a full command center that fits in a backpack. You can deploy this setup in a hotel room in 3 minutes.
The Optimization Protocol
Getting the screen on is step one. Configuring it for output is step two.
Most people fail here. They treat the iPad like a small computer monitor. It’s not. It has a different pixel density.
1. Fix the Resolution
By default, the text might look tiny. Or huge.
On Mac, go to Displays. You will see scaling options for the iPad. Choose “Larger Text” if you are reading documentation. Choose “More Space” if you are monitoring charts.
I recommend “More Space.” Fit more data on the screen. Train your eyes.
2. The Touch Bar Trick
Sidecar puts a digital “Touch Bar” on the bottom or side of the iPad screen. It takes up 30 pixels of space. It is useless.
Turn it off.
Go to System Settings > Displays. Look for “Show Touch Bar.” Uncheck it. Reclaim your screen real estate.
3. Dedicated Use Cases
Do not use the iPad for your main work. It is too small.
Use it for “Passive Reference.”
- Slack/Teams: Keep the noise off your main screen.
- Email: Glanceable, but not intrusive.
- Reference Material: PDF specs, spreadsheets, or notes while you write on the main screen.
- Spotify: Control the vibe without Alt-Tabbing.
This is how you maintain “Flow State.” Your main screen is for creation. Your iPad screen is for information.

Troubleshooting: When It Breaks
Technology fails. Here is how to fix it fast so you can get back to work.
“Unable to Connect”
Check that your devices meet the connection requirements and that Handoff is enabled.
On Mac: System Settings > General > AirPlay & Handoff. Toggle “Handoff” OFF, wait 5 seconds, toggle ON.
On iPad: Settings > General > AirPlay & Handoff. Do the same.
“Device Timed Out”
This is a Wi-Fi interference issue. Your router is confused.
The Fix: Use the cable. When you plug the cable in, go to the iPad Finder window on the Mac. Click “Trust this Computer.” If you don’t trust the computer, the data won’t transfer over the wire.
“Black Screen”
The iPad connects, but the screen is black.
This is usually a GPU driver glitch. Close the laptop lid. Wait for the iPad to disconnect. Open the laptop lid. Reconnect Sidecar.
Choose a setup for your work
Try the equipment you already own before buying an extra stand, app, or adapter. Whether an additional display helps depends on your tasks and workspace; it does not guarantee a particular productivity or income increase.