
You Are Losing Money Every Time You Hit a Bump
You hit a pothole. Your monitor mount wobbles. The screen face-plants into your keyboard.
Best case scenario? You lose your train of thought.
Worst case scenario? You crack a $400 portable screen and lose three days of work waiting for Amazon to deliver to a locker in the middle of nowhere.
This is the reality of digital nomad life that Instagram doesn’t show you. They show the sunset. They don’t show the rattling cheap plastic mount keeping you from getting work done.
If you live in a van, your office is an earthquake zone. Every single day.
You cannot buy office equipment designed for a stationary cubicle and expect it to survive 65 miles per hour on a gravel road. It won’t work. Physics is against you.
I see people trying to save $20 on a mount to hold a $2,000 laptop setup. That is bad math. That is stupid.
We are going to fix that today. We are going to look at Return on Investment (ROI). The ROI of a stable mount isn’t “comfort.” It’s speed. It’s safety. It’s income.

The Physics of Failure (Why Your Current Setup Sucks)
Most monitor mounts are built for static loads. They are designed to sit on a desk that never moves. Gravity pulls down. That’s it.
In a van, you have three forces working against you:
- Vertical Shock: The suspension hitting a bump.
- Lateral G-Force: Turning corners.
- Vibration: The constant hum of the engine and road texture.
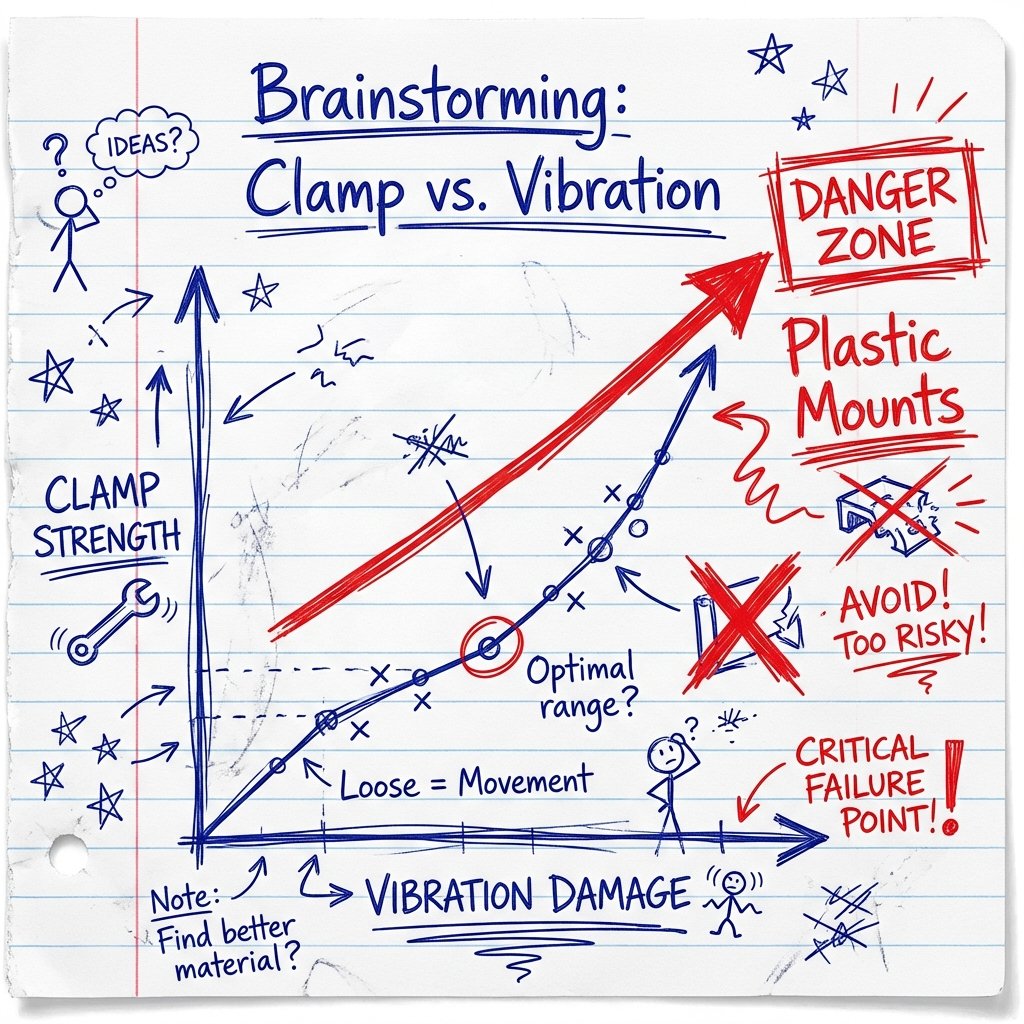
When you buy a cheap $25 clamp arm from Amazon, it has plastic bushings. It has weak springs.
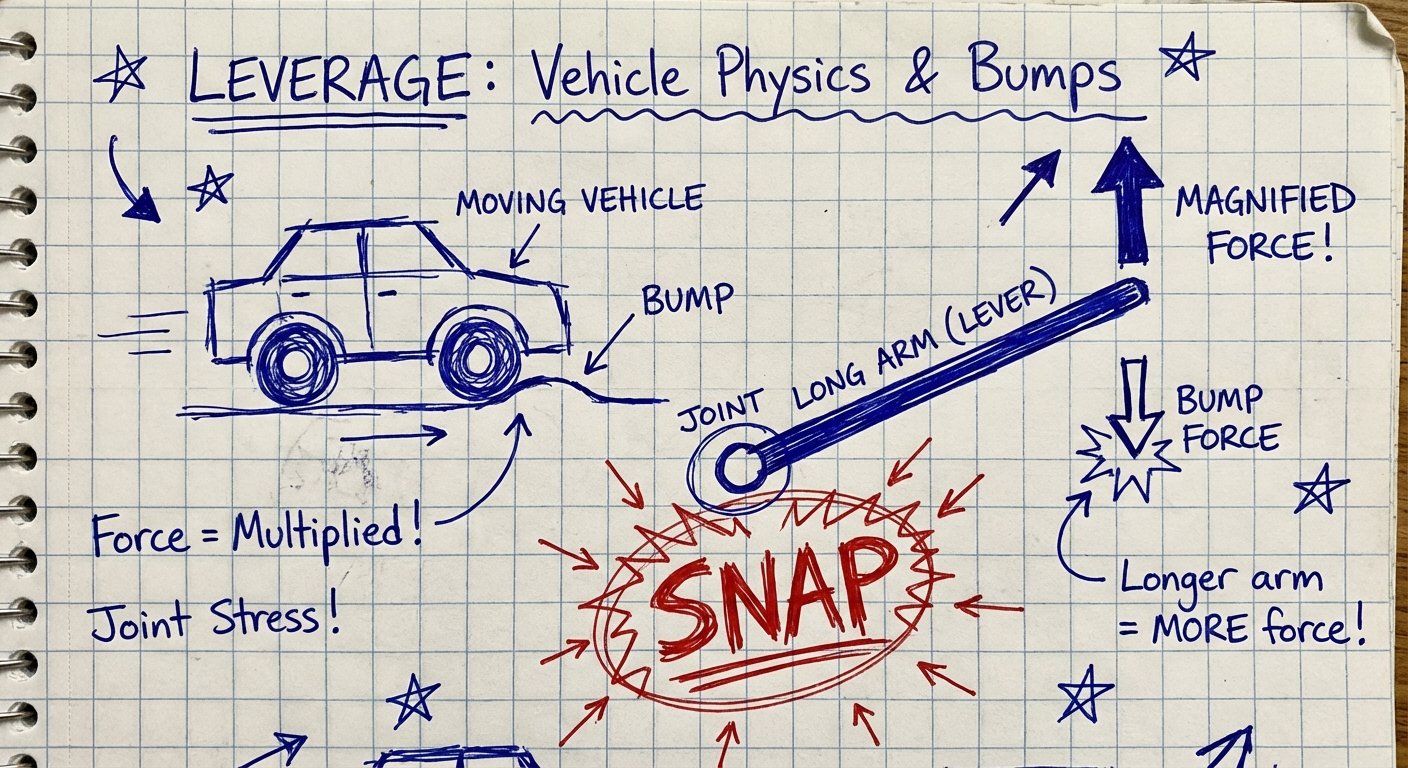
When you start driving, that monitor arm acts like a lever. If the arm is 12 inches long, and your monitor weighs 2 pounds, the torque at the joint when you hit a bump is massive. The plastic cracks. The screw strips. The monitor falls.
You need torque rating. You need metal. You need compression.
Criteria for the “Buy It Once” Mount
Stop buying garbage. Use this checklist. If a mount doesn’t meet these three criteria, do not put it in your rig.
1. Zero Plastic at Stress Points
Joints must be metal. Ball heads must be rubberized aluminum. If the locking mechanism is plastic, it will snap in cold weather or melt in hot weather. Period.
2. Locking Ability
Gas springs are great for offices. They are terrible for vans. A gas spring bounces. You want a rigid arm that locks into place and does not move until you unlock it.
3. Quick Release (Stowability)
You should never drive with your monitor extended. I don’t care how strong the mount is. If you crash, that monitor becomes a projectile. You need to be able to take it down in 10 seconds or less.
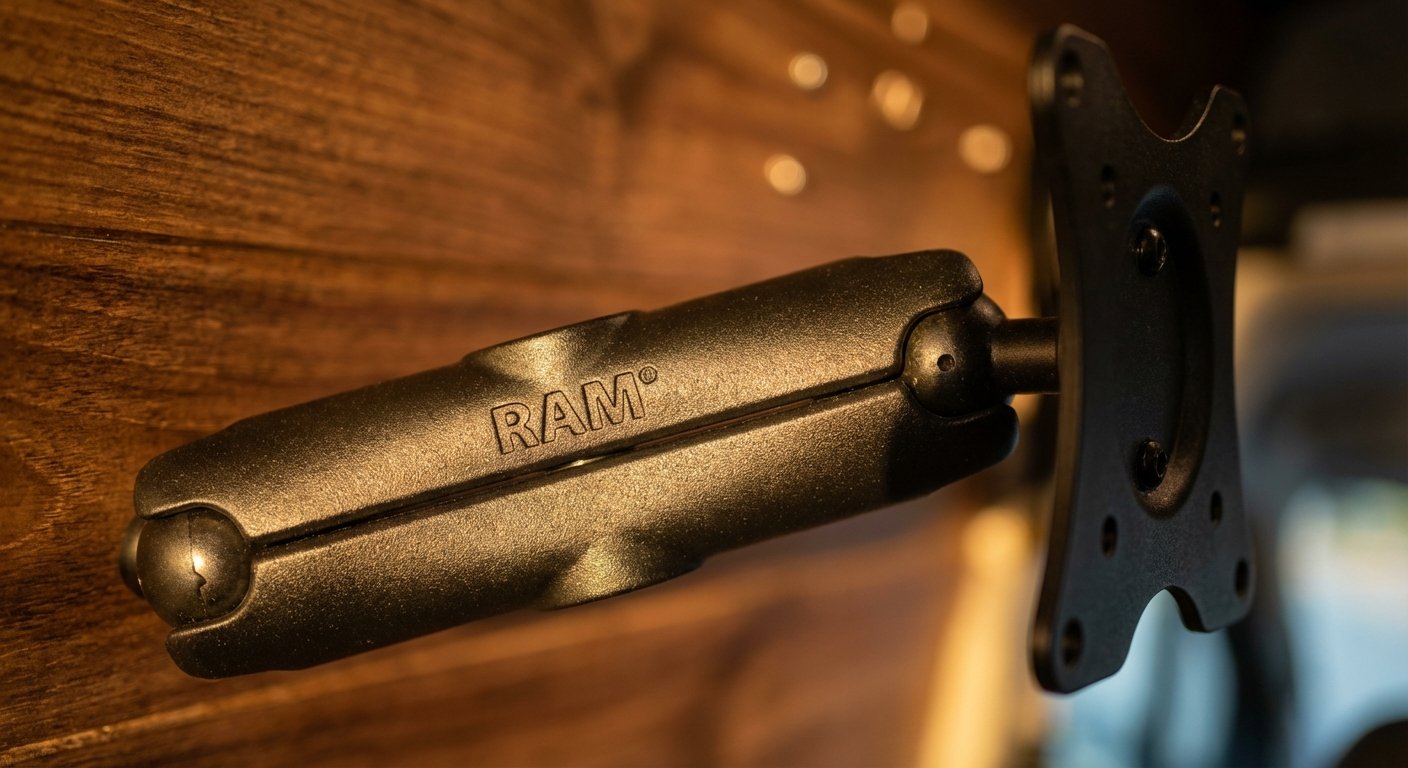
The Industrial Solution: RAM Mounts
If you want the best, you stop looking at consumer tech. You look at what the police, military, and truckers use.
You use RAM Mounts.
This is not a paid placement. This is just a fact. RAM uses a ball-and-socket system. It absorbs vibration. It is marine-grade aluminum. It does not break.
The Setup:
- The Base: Drill-down marine base (screwed into your wall or desk).
- The Arm: Medium length double-socket arm.
- The Plate: VESA adaptor plate (75mm or 100mm).
This system allows you to position the screen anywhere. Then you twist the knob. It locks rock solid. When you drive, you loosen the knob, fold it flat against the wall, and tighten it again. It takes 5 seconds.
It costs more than the cheap stuff. But it lasts forever. You buy it once. You keep it for 20 years.
Estimated Price: $100 – $150 for the full assembly.
The Budget “Consumer” Fix: WALI Heavy Duty
Maybe you don’t have $150 to drop on a mount right now. You are bootstrapping. I get it.
You can use a standard consumer mount, but you have to buy the right one. Do not get a gas spring arm. It will bounce while you type.
Get a rigid pole mount with an articulating arm.
The WALI Single Monitor mount is the go-to here. It uses a heavy steel pole. The arm slides up and down and tightens with a massive bolt.
The Hack for Van Life:
The “C-Clamp” that comes with these is usually fine. But for a van, drill through the desk. Use the grommet mount option. Bolt it through the wood. C-Clamps vibrate loose over time. A bolt does not.
Estimated Price: $30 – $45.
The Minimalist approach: Magnetic Mounting
Some of you don’t want a permanent arm taking up space. You have a small van. Every inch counts.
You are using portable USB-C monitors. Things like the ASUS ZenScreen or the Arzopa.
Do not use the flimsy “origami” cover stand they come with. It takes up desk space. It slides around when you turn a corner.
Use N52 Neodymium Magnets.
You attach a metal plate to the back of your portable monitor (using 3M VHB tape). You mount a magnetic strip or magnetic ball mount to your wall.
Warning: Regular magnets aren’t enough. You need “Dashboard” grade magnetic mounts meant for heavy tablets.
The Lamicall Tablet Holder is a strong contender here if you have a lighter screen (under 15 inches). It clamps to a shelf or headrest. It’s stiff. It holds.
Estimated Price: $20 – $30.
The Monitor Itself: Weight Matters
If you are mounting something in a moving vehicle, weight is the enemy.
A standard 24-inch desktop monitor weighs 8 to 12 pounds. That is a lot of leverage on a mount.
A portable USB-C monitor weighs 1.5 to 2 pounds.
If you switch to a portable monitor, you reduce the stress on your mount by 80%. You also save power. Portable monitors run off your laptop battery. Standard monitors need an inverter (AC power), which wastes 20% of your battery in heat conversion.
If you want high ROI, get a high-quality portable screen.
Top Pick: Arzopa 15.6” 144Hz Portable Monitor
It’s light. It’s cheap. It’s clear. It gets the job done.
Estimated Price: $110 – $160.
The “Stow” Protocol: How to Not Break Stuff
Buying the gear is only 50% of the solution. The other 50% is your behavior.
You cannot have a “set it and forget it” mindset in a vehicle. You have to be active.
Here is the protocol I use. It saves me thousands of dollars in broken gear.
- Park the Van. Level the vehicle.
- Deploy. Swing the monitor out. Lock the arm.
- Work. Make money.
- Stow. Before the engine turns on, the monitor must be secured.
What does “Secured” mean?
It means the monitor arm is folded completely against the wall. Or, the monitor is removed and placed in a padded laptop sleeve.
Do not trust the clamp while driving. If you crash at 60mph, a 2-pound monitor becomes a 60-pound missile aimed at the back of your head.
Safety is ROI. You can’t spend money if you’re dead.
Installation: Drill the Holes
I see people using suction cups. I see people using Velcro.
Stop it.
Adhesives fail when the van gets hot in the summer. Suction cups fail when the temperature drops at night.
Mechanical fasteners are the only way. You need to use screws. You need to use bolts.
If you are mounting to the van’s metal frame: Use self-tapping sheet metal screws.
If you are mounting to plywood walls: Use “T-Nuts” or bolts with washers on the other side. Do not just screw into thin plywood; it will rip out.
Conclusion: The Cost of Being Cheap
Let’s do the math.
Option A (Cheap):
Buy a $25 plastic mount. Buy a $150 monitor.
Drive down a washboard road.
Mount breaks. Monitor breaks.
Total Cost: $175 + 3 days of lost work ($1,000+ opportunity cost).
Total Loss: $1,175.
Option B (Pro):
Buy a $100 RAM mount system. Buy a $150 monitor.
Drive down a washboard road.
Nothing happens.
Total Cost: $250.
Total Loss: $0.
The “expensive” option is $925 cheaper than the cheap option.
Build your setup correctly. Lock it down. Get back to work.