The Math Behind The Second Screen
Most people think buying a portable monitor is an expense. It isn’t.
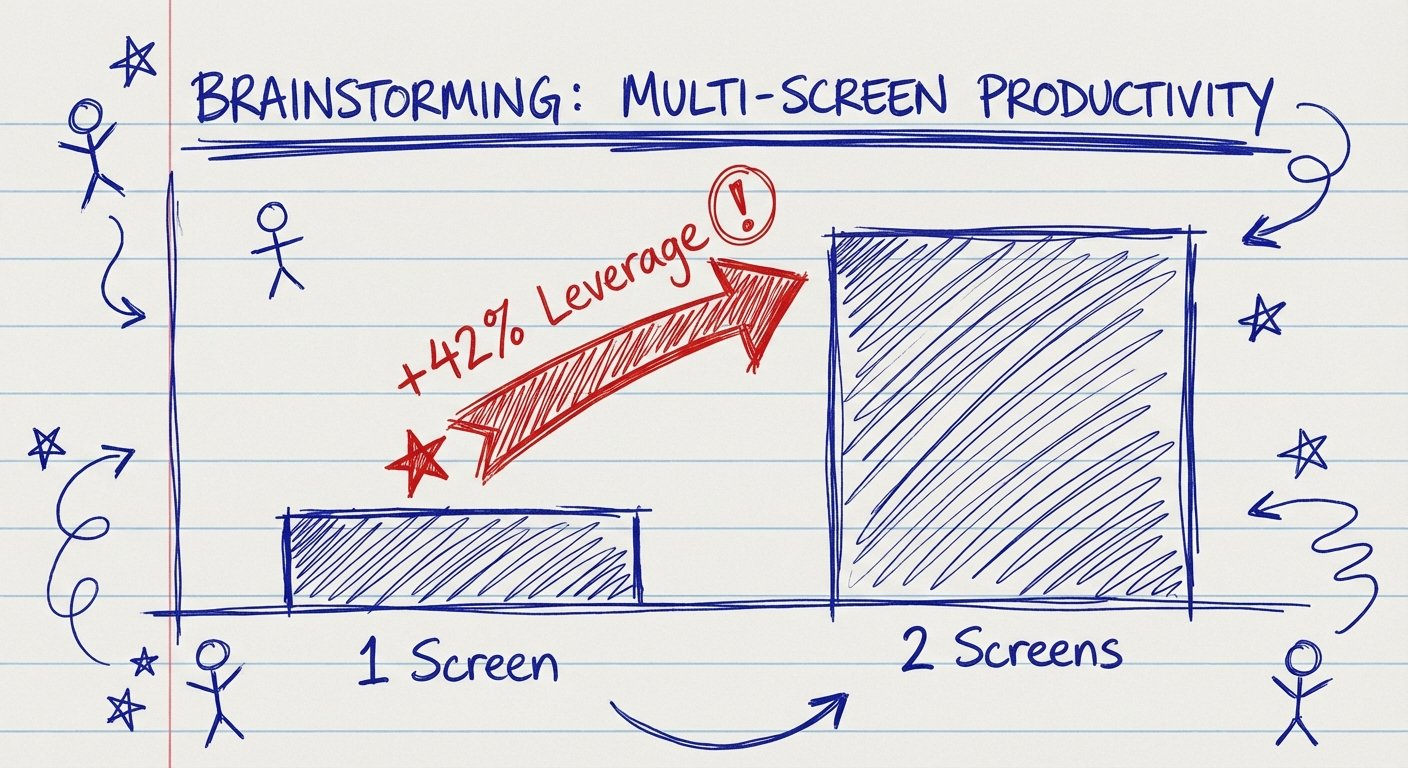
It is leverage.
If you are reading this, you probably own an M4 MacBook Pro. You spent over $2,000 on a laptop. You value speed. You value output.
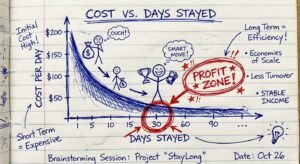
But if you are working on a single screen while traveling, you are operating at 60% capacity. Research shows dual monitors increase productivity by 42%. Let’s run the numbers.
If you bill $100 an hour:
- One extra hour of output per day = $100.
- Five days a week = $500.
- One month = $2,000.
A $300 monitor pays for itself in three days. After that, it is pure profit.
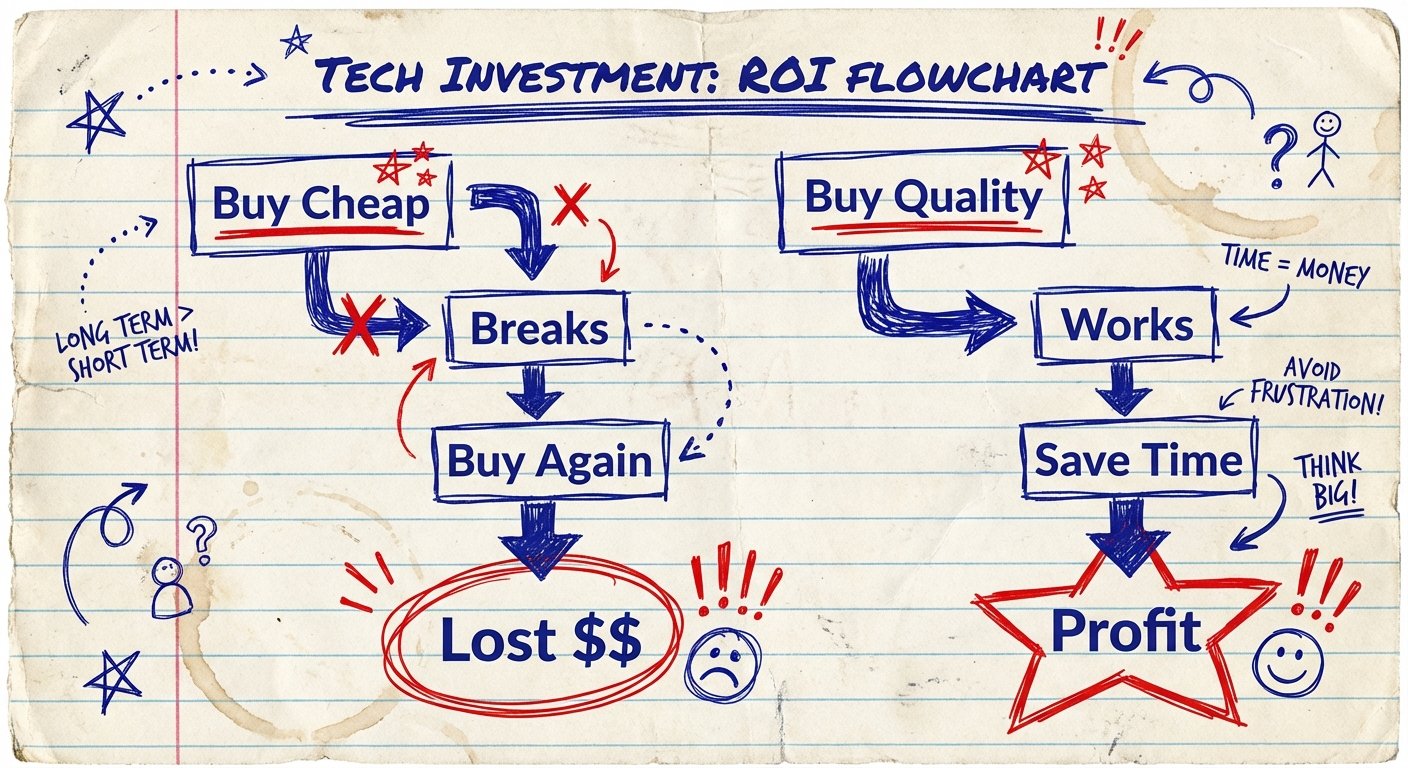
Most people buy cheap garbage from random brands on Amazon. They save $50. Then the port breaks. The colors look like mud next to their Retina display. They stop using it. They lose the leverage.
Do not be that person.
We are looking for three things:
- Pixel Density: The M4 screen is beautiful. If your second screen is 1080p, your eyes will hurt. You need 2K or 4K.
- Brightness: You need 400+ nits. If you can’t see it in a coffee shop, it is a paperweight.
- One Cable: No power bricks. No dongles. Plug and play.
Here are the only portable monitors worth your money in 2026.
1. The “Money is No Object” Pick: ASUS ProArt PA169CDV
If you are a creative professional, this is the only option. Period.
The M4 MacBook Pro has an XDR display. It is the best laptop screen on the planet. Putting a cheap plastic screen next to it is jarring. The ProArt PA169CDV is the only portable monitor that actually keeps up.
The Hard Specs
- Panel: 15.6-inch 4K UHD (3840 x 2160) IPS.
- Color: 100% sRGB, 100% Rec. 709. It is factory calibrated.
- Touch: Wacom EMR technology included. You can draw on it.
- Build: Metal. Solid. Has a built-in kickstand that actually works.
Why It Wins
Consistency. You edit a photo on your Mac. You drag it to the Asus. It looks the same. That is rare.
It also has the “Dial” functionality built in for Adobe apps. It speeds up workflow. Remember, speed is money.
The Downside
It is heavy. It sucks power. Your M4 battery will drain faster. But if you are doing pro work, you are likely plugged in anyway.
Price: $800 – $1,000
2. The Efficiency Pick: LG Gram +view (16MR70)
This is what I carry. It is not the most expensive. It is the most logical.
Most portable monitors are 16:9. They are wide and short. They are made for watching movies.
The M4 MacBook Pro is 16:10. It is taller. It is made for work.
The LG Gram +view is also 16:10. It aligns perfectly with your laptop. Your mouse moves straight across. No jumping up or down. It feels like one continuous workspace.

The Hard Specs
- Resolution: 2560 x 1600 (WQXGA).
- Weight: 1.45 lbs. It is lighter than an iPad Pro.
- Ports: Dual USB-C (one on each side). This is huge. You can put it on the left or the right.
- Finish: Anti-glare matte.
The ROI Logic
It fits in the same laptop sleeve as a 16-inch MacBook. You don’t need a separate bag.
The matte screen is better for coding or writing than the glossy Mac screen. No reflections. You can work outside. You can work under harsh office lights.
It costs a fraction of the Asus. It delivers 90% of the value for general tasks (spreadsheets, slack, code, email).
Price: $300 – $350
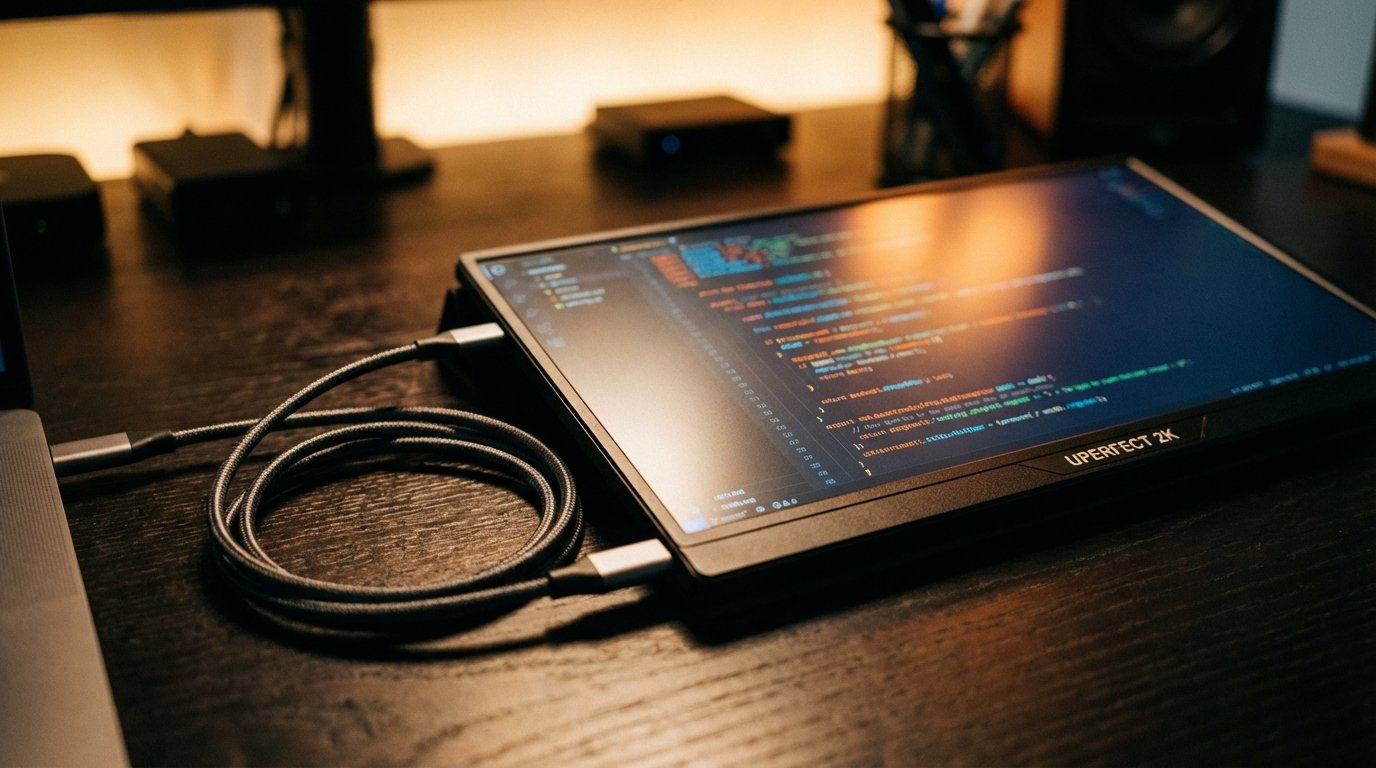
3. The Budget Beast: UPERFECT 2K 120Hz
Maybe you don’t care about color accuracy. Maybe you just need space to dump your Slack window so you can focus on Deep Work.
Do not buy a 1080p screen. It is 2026. 1080p is obsolete. Text looks fuzzy. It strains your eyes. Eye strain equals fatigue. Fatigue equals less work done.
Get the UPERFECT 2K model. Specifically the 16-inch version with high refresh rate.
The Hard Specs
- Resolution: 2560 x 1600.
- Refresh Rate: 120Hz. Matches the ProMotion of your Mac.
- Brightness: 500 Nits. This is brighter than the LG.
- Price: Cheap.
Why It’s a Contender
The M4 MacBook has ProMotion (120Hz). If you drag a window from a 120Hz screen to a 60Hz screen, it looks laggy. It feels broken.
This monitor matches the smoothness. It makes the experience seamless.
The build quality is mediocre. It is plastic. The logo is ugly. But the panel itself is excellent for the price.
Price: $160 – $220
The Trap: 4K vs. 1080p vs. Refresh Rate
People get confused here. They look at specs and get paralysis.
Here is the truth.
For 13/14 inch screens: 1080p is passable. But you have an M4 Pro. Don’t insult it.
For 15/16 inch screens: 1080p is unusable. You can see the pixels. It looks like a screen door.
Resolution Rule: You want High DPI (Dots Per Inch). Apple calls it Retina. You want the interface to be crisp.
Refresh Rate Rule: 60Hz is standard. 120Hz is luxury. Once you go 120Hz on your main machine, 60Hz on the side feels slow. If you are sensitive to lag, prioritize the UPERFECT (120Hz) over the LG (60Hz).
The “Zero Cost” Solution: Sidecar
You might already own the best portable monitor.
If you have an 11-inch or 13-inch iPad Pro (M4 or M2), stop reading. Use that.
Apple’s “Sidecar” feature turns your iPad into a second display wirelessly. Or use a cable for zero latency.
The Pros
- Screen Quality: It’s an iPad. The screen is incredible.
- Battery: It has its own battery. It doesn’t drain your laptop.
- Utility: When you aren’t working, it’s a tablet. You can watch movies on the plane without opening your laptop.
The Cons
- Size: Even the 13-inch is smaller than a 16-inch dedicated monitor.
- Cost: If you don’t own one, it’s $1,000+. Bad ROI strictly as a monitor. Great ROI if you use the iPad features too.
If you already have the iPad, buying a portable monitor is redundant. Use what you have. Maximize the asset.

How To Set Up For Maximum Output
Buying the gear doesn’t make you productive. Using it correctly does.
I see people set up their portable monitor and just mirror their screen. Useless. Or they put email on the big screen and work on the small one. Backwards.
Here is the “Command Center” setup for travel:
1. The Hierarchy of Screens
Main Screen (MacBook): Output. This is where the work happens. Writing, coding, editing. Your eyes should be here 80% of the time.
Side Screen (Portable): Input/Reference. Research tabs, Slack, brief specs, email. Things you need to glance at.
2. The VESA Mount Hack
Most kickstands suck. They slide. They fall over.
Buy a magnetic tablet stand or a portable VESA mount if the monitor supports it. Elevate the portable monitor so the top of the screen matches the top of your MacBook.
Neck strain kills productivity. Ergonomics is just efficiency for your body.
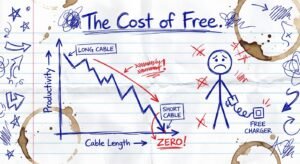
3. Cable Management
Get a right-angle USB-C cable. The straight cables stick out. They get bumped. They break the port.
A right-angle cable keeps it flush. It looks professional. It prevents damage. It costs $10 and saves a $300 monitor.
Verdict: What Should You Buy?
Decision fatigue is real. Let’s eliminate it.
Scenario A: You are a designer/video editor.
Buy the ASUS ProArt. You need the colors. If you deliver bad colors to a client, you lose the client. The $800 price tag is insurance.
Scenario B: You are a coder/writer/entrepreneur.
Buy the LG Gram +view. It is light. It is sharp. It fits in your bag. It has the best aspect ratio.
Scenario C: You are a gamer or need 120Hz smoothness.
Buy the UPERFECT 120Hz. It feels fast.
Scenario D: You are broke.
Don’t buy a monitor. Work harder on one screen until you can afford the right tool. Don’t buy a $90 piece of e-waste that will break in a month.
The M4 MacBook Pro is a beast. Give it the partner it deserves.
Stop overthinking. Buy the monitor. Put it in your bag. Get to work.
The ROI is waiting.