Most YouTubers Are Leaving Money on the Table
You spend ten hours writing a script.
You spend five hours shooting it.
You spend a thousand dollars on a camera.
And your video still looks like trash.
Why? Because you skipped the step that signals “premium” to the human brain.
Color grading.
Most creators think color is an artistic choice. It isn’t. It’s a business decision. It’s a trust signal.
If your video looks washed out, flat, or amateurish, the viewer subconsciously labels you as “low value.” They click off. Retention drops. The algorithm buries you.
If your video looks polished, contrasty, and deliberate, the viewer assumes you are an authority. They watch longer. They trust you. They buy your stuff.
I’m going to show you how to fix this. Not with fluff. But with the specific gear and logic you need to stop looking cheap.
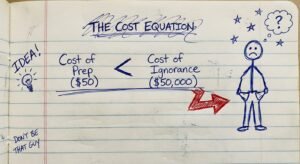
The ROI of “Looking Expensive”
Let’s do the math on production value.
There are two types of creators:
- The Commodity: Competes on price. Looks like everyone else. Uses default settings.
- The Brand: Competes on value. Looks distinct. Owns a visual style.
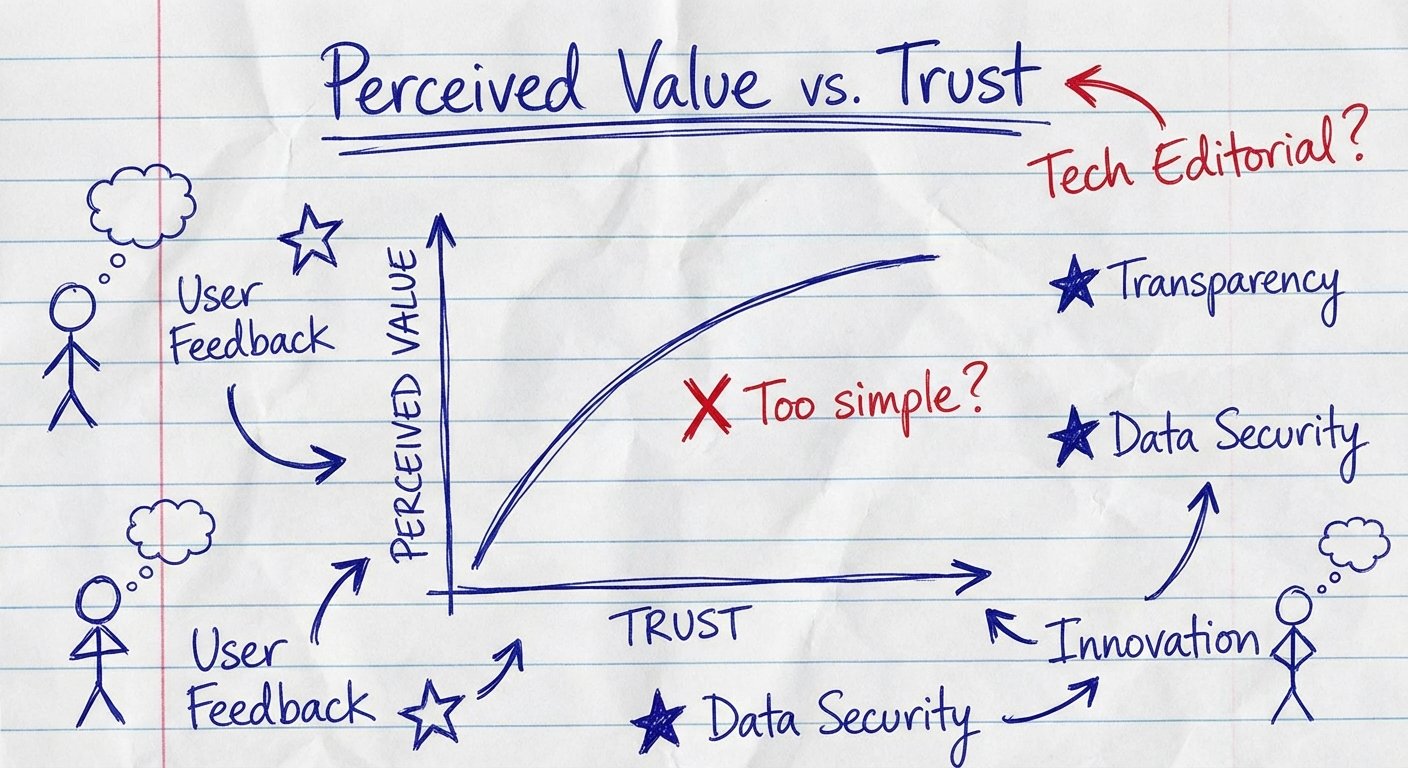
When you fix your color, you move from Commodity to Brand. You increase the Perceived Value of your content without changing the actual words you say.
Think about Apple. Why do they charge $2,000 for a laptop? Because the packaging, the finish, and the look scream “quality.”
Your video frame is your packaging.
If you are selling a $1,000 course, or trying to get a $50 CPM on your ads, but your video looks like a webcam recording from 2012, the math doesn’t work. The viewer feels a disconnect.
High-end color grading bridges that gap. It tells the viewer: “I pay attention to details. I am a professional. My information is worth your time.”
That is high ROI.
The “LUTs” Trap (Stop Being Lazy)
Here is where 90% of you fail.
You go online. You search “Cinematic LUTs.” You pay $25 for a pack of presets from some influencer.
You slap the LUT on your footage.
It looks terrible. The skin tones are orange. The shadows are crushed. It looks like a deep-fried meme.
A LUT (Look Up Table) is dumb math. It shifts values blindly. It doesn’t know your lighting. It doesn’t know your camera sensor. It doesn’t know your white balance.
Relying on LUTs is like trying to build a house by buying a “House Preset” and throwing it on a pile of lumber. It doesn’t work.
You have to do the work. You have to balance the image first.
The Hierarchy of Color:
- Correction: Fixing the mess you made while shooting. White balance. Exposure. Contrast. This makes it look “real.”
- Grading: Applying the style. The mood. The teal and orange. This makes it look “cool.”
You cannot Grade until you Correct. If you try to style garbage footage, you just get stylized garbage.

Hardware: You Can’t Fix What You Can’t See
This is the part that hurts. You need to spend money.
You are probably editing on a gaming monitor or a laptop screen. These are lying to you.
Gaming monitors boost saturation to make games look fun. Laptop screens have “True Tone” or brightness shifts that change based on the room lighting.
If your monitor is lying, your color grade is wrong. You will export a video that looks great to you, but looks green on an iPhone and purple on a TV.
You need objective truth. You need two things.
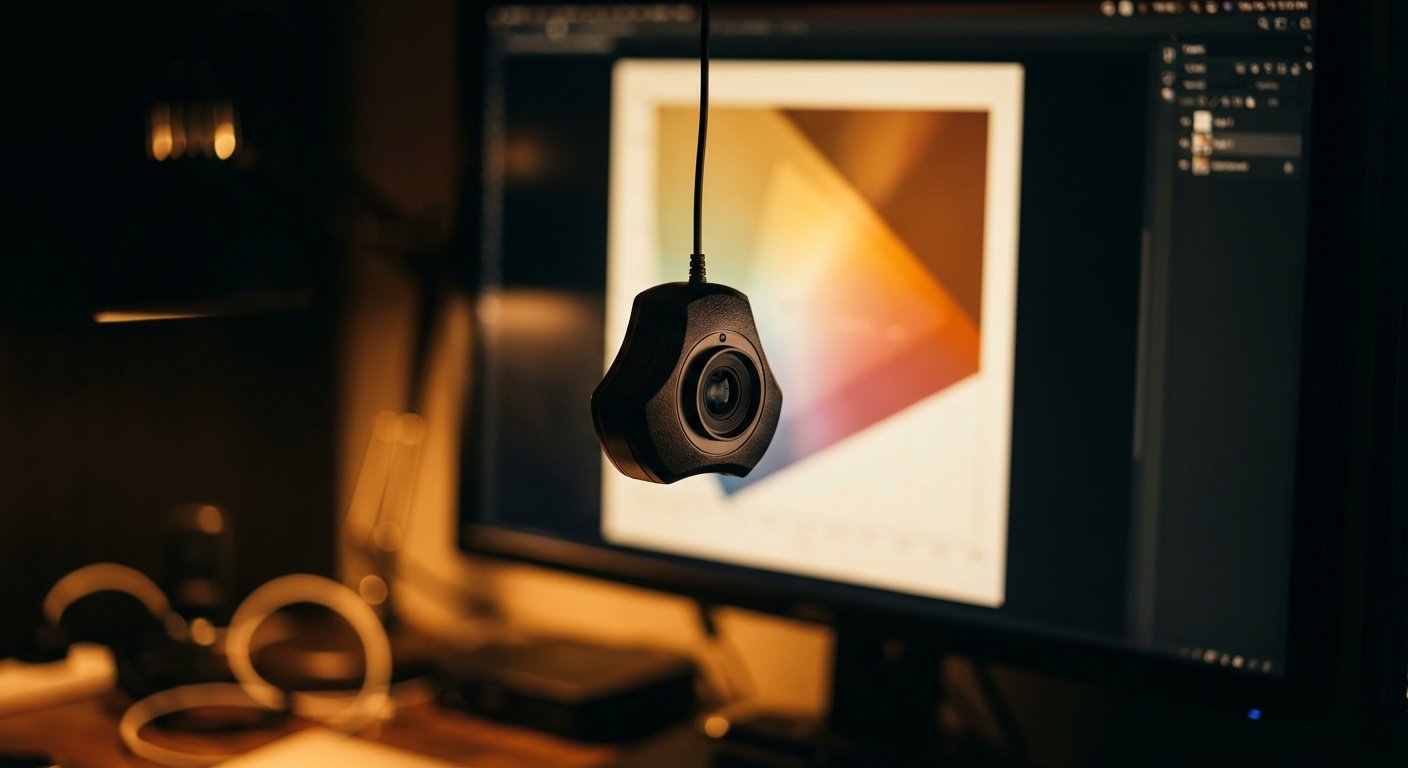
1. A Calibration Tool
This is non-negotiable. This is a sensor that hangs over your screen and forces it to display accurate colors.
The standard for this is Datacolor. Their Spyder series is the industry workhorse. The newest version handles the high brightness of modern screens.
Datacolor Spyder X2 Ultra
This ensures that “White” is actually White, not slightly blue. It creates a color profile specifically for your room and your monitor.
Price: $260 – $270
2. An Accurate Monitor
You don’t need a $30,000 Sony reference monitor. But you need something better than a generic Dell office screen.
The Entry Level King: ASUS ProArt Display PA278QV
This is the highest ROI monitor on the market. It comes factory calibrated. It covers 100% of the sRGB and Rec. 709 color spaces (which is what YouTube uses). It is cheap enough that you have no excuse not to buy it.
Price: $230 – $300
The Pro Choice: BenQ SW272U
If you are making serious money, you upgrade to this. It has hardware calibration built-in. It handles Adobe RGB. It has a matte coating that kills reflections. This is for when you stop playing games and start running a media company.
Price: $1,590 – $1,650
The Software: Stop Using Premiere for Color
Adobe Premiere is fine for cutting. It is mediocre for color.
The Lumetri Color panel is a toy compared to DaVinci Resolve.
Resolve is the industry standard. Hollywood movies are graded in Resolve. Your YouTube videos should be graded in Resolve.
The best part? The base version is free. There is zero barrier to entry except your willingness to learn.
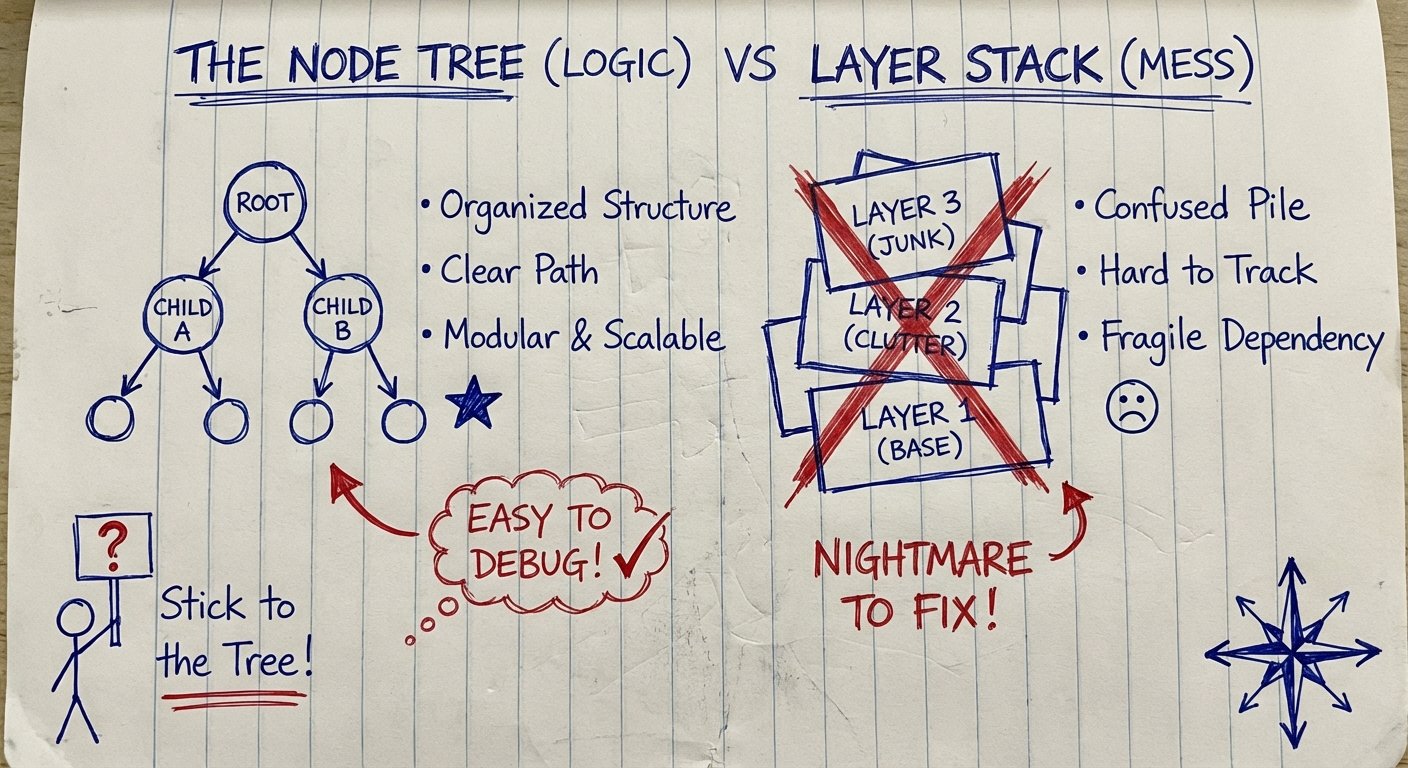
In Premiere, you stack effects on layers. It gets messy. It slows down your computer.
In Resolve, you use Nodes. Nodes allow you to separate your problems.
- Node 1: Exposure fix.
- Node 2: White Balance fix.
- Node 3: Skin tone isolation.
- Node 4: Final stylistic look.
If the client (or your wife) says “It looks too dark,” you tweak Node 1. It doesn’t break the rest of the chain. It is scalable logic applied to art.
The Secret Weapon: Physical Control
Mouse and keyboard grading is slow.
You have to click a wheel, drag it, let go, look at the screen, click again. It breaks your flow.
Pros use panels. Trackballs. Knobs.
When you use a panel, you can adjust the shadows and the highlights at the same time. You feel the image. You build muscle memory. You get faster.
Speed is profit. If you can grade a video in 10 minutes instead of 60, you just bought back an hour of your life.
Blackmagic Design DaVinci Resolve Speed Editor
This is usually for cutting, but Blackmagic also makes the Micro Color Panel. However, for most YouTubers, the Speed Editor combined with the software is the gateway drug.
If you want pure color control, look at the Blackmagic Micro Panel. It gives you the trackballs. It feels like driving a Porsche.
Price: $495 – $515
Trust the Scopes, Not Your Eyes
Your eyes adapt. This is biology.
If you stare at a blue screen for 20 minutes, your brain subtracts blue. When you look at a neutral wall, it looks yellow.
If you color grade based on what your eyes tell you after a 4-hour editing session, your grade will be wrong.
You must use Scopes.
- The Waveform: Tells you brightness. If the line hits 0, your blacks are crushed (detail lost). If it hits 100, your whites are clipped (detail lost). Keep your image between 0 and 100. That is the safe zone.
- The Vectorscope: Tells you saturation and hue. There is a line on the Vectorscope called the “Skin Tone Line.” If your subject’s skin blobs aren’t sitting on that line, they look like an alien.
Scopes are data. Data doesn’t have feelings. Data doesn’t get tired. Trust the data.
When to Outsource This
Should you do this yourself forever? No.
You do it yourself until you have $10,000 in the bank from your videos. Then you pay someone else to do it.
But you cannot manage a colorist if you don’t understand color.
If you don’t know what “crushed blacks” or “magenta shift” means, you will accept bad work. You will get ripped off.
- Phase 1: Learn the skill. Buy the monitor. Grade your own videos. Increase your quality.
- Phase 2: Document your “Look.” Create a PowerGrade (a Resolve preset based on your nodes).
- Phase 3: Hire an editor. Hand them the PowerGrade. Tell them: “Apply this. Check the scopes. Don’t be creative. Just be consistent.”
Conclusion: The Compound Effect
Better color grading won’t fix a bad script.
But it will make a good script hit harder.
It adds 5% to your retention. It adds 10% to your authority. It allows you to charge 20% more for your brand deals because you look like a production house, not a kid in a basement.
Stop looking for the magic “Cinematic” button.
Buy the monitor. Learn to read the scopes. Do the boring work of balancing your image.
Make it look expensive. Get paid accordingly.