The “Ghost Screen” Fix: How to Calibrate Your Portable Monitor Colors
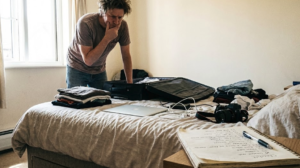
You bought a portable monitor.
You thought you were smart.
You wanted dual screens at the coffee shop. You wanted to double your productivity. You wanted to look like a pro while traveling.
Then you plugged it in.
Disappointment.
The colors look washed out. The blacks look grey. The reds look orange. It looks like a ghost image of your main laptop screen.
I call this the “Ghost Screen” effect.
Most people ignore it. They squint. They suffer. They produce bad work.
They tell themselves, “It’s just a portable monitor, it’s supposed to look cheap.”
That is a lie. And it is costing you money.
If you are a designer, video editor, or anyone who presents work to clients, color accuracy isn’t a luxury. It is a requirement. If you send a client a brand asset where the “Coca-Cola Red” looks pink, you look like an amateur. Amateurs get paid amateur prices.
Even if you just do spreadsheets, a washed-out screen increases eye strain. Eye strain lowers focus. Lower focus means less output. Less output means less money.
Today, we fix the Ghost Screen.
We are going to look at the hardware reality, the free software fixes, and the paid solutions that actually have a positive ROI.

The Hard Truth: You Can’t Polish a Turd
Before we touch a single setting, we need to look at the hardware.
Physics is physics. You cannot use software to force a screen to display colors it simply does not have.
Portable monitors usually fall into three categories.
1. The TN Panel (The Trash Tier)
If you bought your monitor for $80 on sale, you probably have a TN (Twisted Nematic) panel. These have terrible viewing angles. If you tilt your head one inch to the left, the screen turns black.
The Fix: Return it. Throw it away. You cannot calibrate this. It is e-waste.
2. The IPS Panel (The Standard)
Most decent portable monitors ($120 – $250) use IPS (In-Plane Switching) panels. These are good. They have consistent colors. But out of the box, the factory calibration is usually terrible. They pump up the brightness and kill the contrast to make it “pop” in store photos.
The Fix: This is what we are calibrating today.
3. OLED (The Gold Standard)
These cost $300+. They have perfect blacks and infinite contrast. They usually come well-calibrated. If you have an OLED and it looks bad, your settings are wrong.
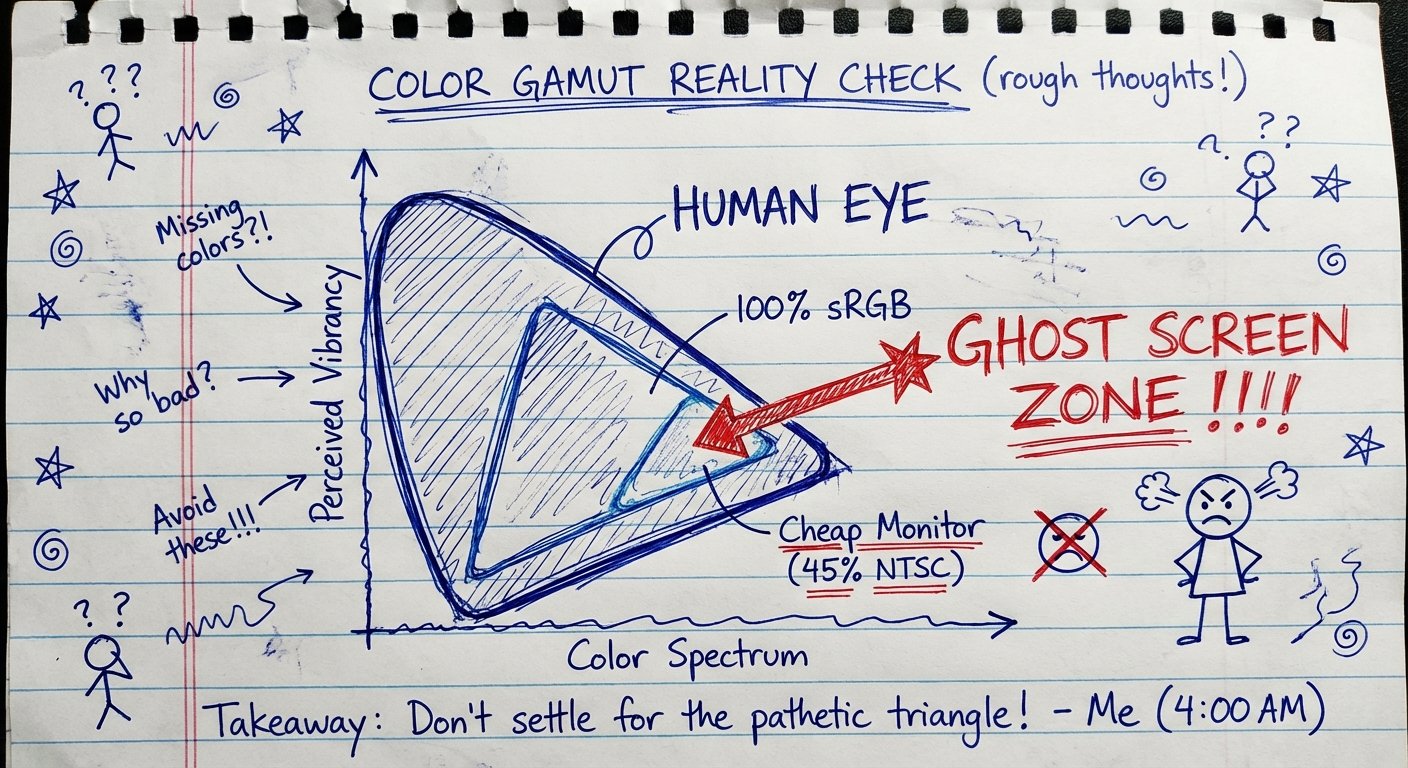
To understand why your screen looks like a ghost, you need to understand Color Gamut.
Most cheap screens only cover 45% of the NTSC color gamut. That means they can literally only show half the colors the human eye expects to see on a computer. No amount of tweaking will fix that.
But if you have a screen with 72% NTSC or 100% sRGB, and it still looks bad? That is user error. That we can fix.
Phase 1: The “Free” Fix (Windows & Mac)
You don’t need to spend money yet. You need to spend time.
Both Windows and macOS have hidden calibration tools. They are old. They look clunky. But they work.
Prerequisite: Let your monitor warm up. Leave it on for 30 minutes before you touch anything. Panels change color as they heat up.
For Windows Users: DCCW
Windows has a tool buried in the system called “Display Color Calibration.”
- Hit the Start button.
- Type dccw.
- Hit Enter.
A wizard will pop up. It will walk you through Gamma, Brightness, Contrast, and Color Balance.
The Secret Sauce: Adjusting Gamma.
The “Ghost Screen” look usually comes from Gamma being too low. The blacks aren’t deep enough. The wizard will show you a circle with dots in the middle. Drag the slider until the dots disappear into the circle.
If the screen looks yellow, use the Color Balance sliders at the end to pull back the Red and Green channels. If it looks blue/cold (very common on cheap monitors), pull back the Blue channel.
Once you finish, Windows will save a new ICC Profile. This tells your graphics card how to talk to that specific monitor.
For Mac Users: Display Calibrator Assistant
Macs are usually better at this automatically, but portable monitors confuse them.
- Go to System Settings > Displays.
- Select your portable monitor.
- Click on the Color Profile dropdown.
- Select Customize or scroll to the bottom and hit the “+” button (depending on your macOS version).
- Hold the Option key and click Calibrate…
Important: Holding the Option key enables “Expert Mode.” Without this, you get the basic slider. You want the expert slider.
Follow the steps. Match the target white point to “Native” or “D65” (which is standard daylight). If your screen looks like a ghost, increase the contrast slider until the blacks feel solid.
Phase 2: The Hardware Fix (High ROI)
The free fix relies on your eyes. Your eyes are easily tricked. Lighting conditions in the room change how you see color.
If you make money from your computer, relying on your eyes is a bad business decision.
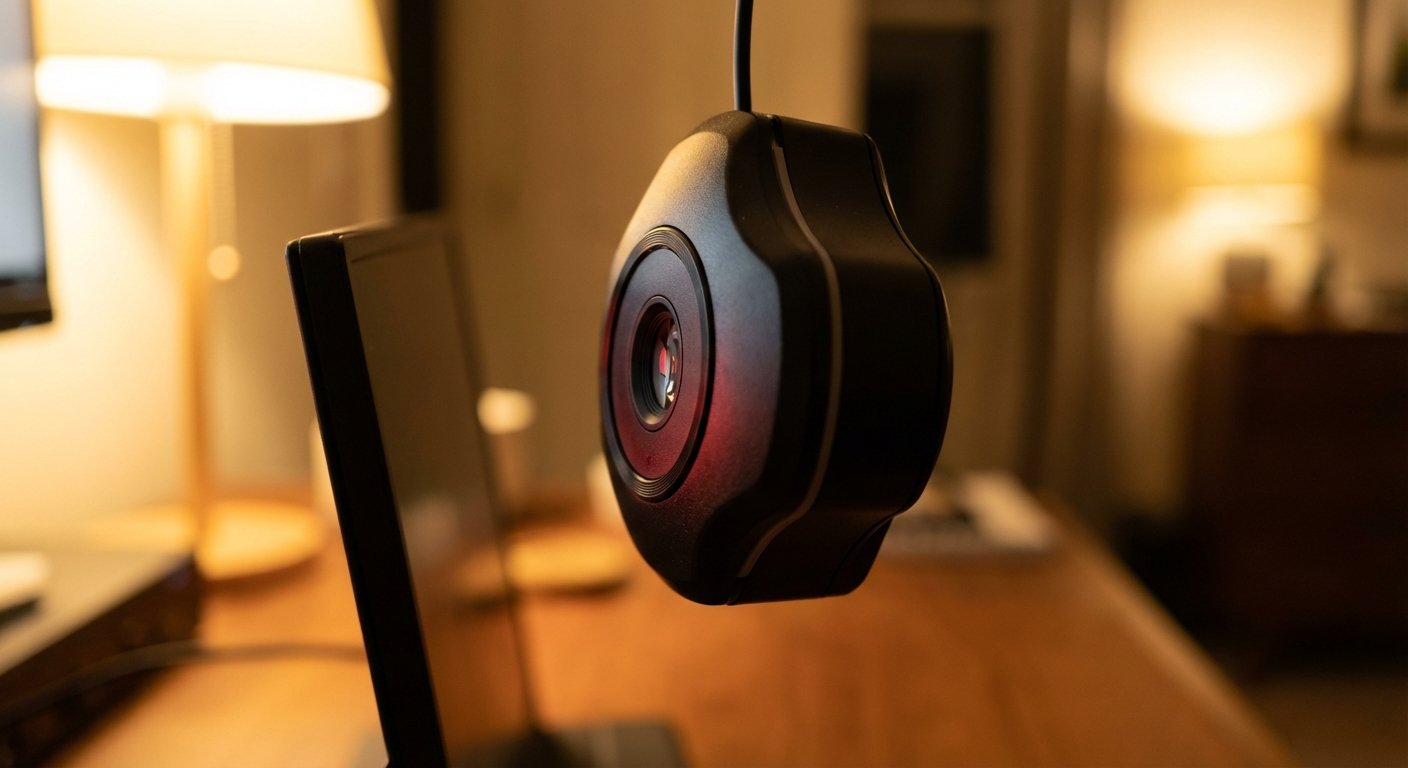
You need a hardware colorimeter. A robot that looks at your screen and measures the light objectively.
The industry standard is the Datacolor Spyder.
Here is the logic: The device costs about $150. If you charge $50 an hour, the device costs you 3 hours of work.
If you spend 10 hours a year trying to fix your colors manually, or re-doing work because the client said the colors were off, you have already lost money. Buying the tool is cheaper than not buying the tool.
The Tool: Datacolor SpyderX Pro
Current Price: $150 – $170
This is the entry-level pro tool. It hangs over your screen. It flashes colors. It reads them. It builds a perfect ICC profile for your specific portable monitor. It fixes the “Ghost Screen” in 2 minutes.
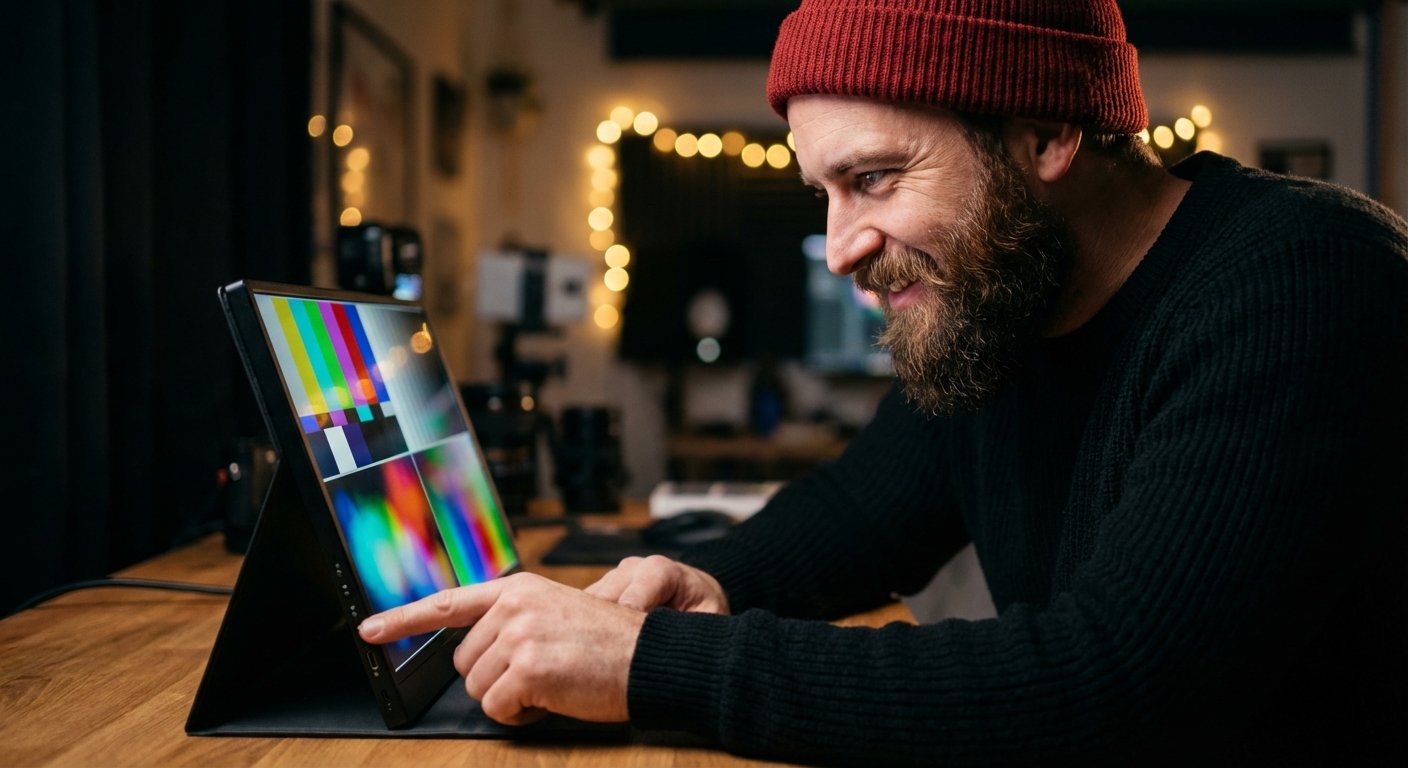
Phase 3: The “OSD” Manual Hack
Maybe you don’t want to buy a calibrator. Maybe the software fix didn’t work because the monitor’s internal settings are overriding Windows.
You need to use the OSD (On-Screen Display). That little wheel or button on the side of the monitor that is annoying to use.
Here are the specific settings to cure the Ghost Screen on 90% of portable monitors (brands like Arzopa, Lepow, KYY).
- Picture Mode: Switch from “Standard” or “Eco” to “User” or “sRGB”. Eco mode kills brightness. Standard mode usually pumps blue light.
- Black Level: Many monitors have a setting called “Black Level” or “Shadow Boost.” Turn this DOWN. Manufacturers turn it up to make details visible in dark games, but it makes the screen look grey.
- Color Temp: Set this to “Warm” or “6500K”. Most portable monitors come set to “Cool” or “9300K” because blue light makes screens look brighter on a spec sheet. It also makes your skin look like a zombie. Switch to Warm.
- Contrast vs. Brightness: The amateur mistake is cranking brightness to 100%. This washes out colors.
- Set Brightness to 70-80%.
- Set Contrast to 60-70%.
Increasing contrast artificially deepens the blacks.
Phase 4: Stop Buying Garbage (The Upgrade)
Sometimes, the ROI calculation tells you to cut your losses.
If you have spent 2 hours tweaking a $90 screen and it still looks bad, you have wasted $100 of your time. You now have a $190 screen that looks like trash.
The smartest move is often to buy the right hardware.
I have researched the current market (2024/2025). If you want plug-and-play color accuracy, these are the only two categories you should look at.
The “Value” King: Arzopa G1 Game
Price Range: $100 – $140
Most budget monitors use 250-nit screens with bad color. The Arzopa G1 (and the Z1FC) usually hit 100% sRGB and 144Hz. It is high refresh rate and high color accuracy for a low price. It is the only budget brand I recommend for actual work.
The “Creative Pro” Choice: ASUS ProArt PA148CTV
Price Range: $350 – $400
If you edit video or photos, stop playing games. Buy a ProArt. It comes factory calibrated by Calman. It has Delta E < 2 (which means the color error is invisible to the human eye). It has a dial on the back for Adobe controls. It is expensive. It is worth it.
The “OLED” Luxury: INNOCN 15.6 OLED
Price Range: $300 – $350
If you hate the grey backlight of LCDs, go OLED. INNOCN makes the panel that many more expensive brands rebrand. 100% DCI-P3 coverage. 100,000:1 contrast ratio. The Ghost Screen is impossible on this device because pixels turn off completely for black.
The Summary Checklist
Don’t overthink this.
- Check your hardware. If it’s a TN panel, trash it.
- Check your OSD. Turn off Eco mode. Set Temp to Warm/6500K. Lower Black Levels.
- Run the Wizard. Use ‘dccw’ on Windows or Expert Mode on Mac. Fix the Gamma.
- Calculate the Cost. If you bill $50+/hr, buy a SpyderX. It pays for itself in one afternoon.
- Upgrade if needed. If the screen can’t hit 100% sRGB, it is a toy. Buy an Arzopa or ProArt.
Your tools dictate your output. Your output dictates your income.
Fix your screen.